Byzantine Alakatia

The Nikephorian DBMM list allows for some elements of Art(O) on wagons. While not as tasty as the Roman Art(F) tachanka, they do have the advantage that they can shoot from their 80mm long side edge, which makes them quite flexible, and they seem to be a standard part of the SBPF (small but perfectly formed) Nikephorian lists.

Problem is that no one seems to make a model for them.

Which for years has stopped me using them. Well that plus I don’t really believe that the existed. It feels to be more likely that they were deployed with the baggage train wagons, rather than on wagons themselves. But I found this article by George T. Dennis on Byzantine artillery that also mentioned them as well. He does a good job of analysing all the various conflicting words that the Romans used for artillery of various sorts, and the interesting description of alakatia as revolving at both end, to suggest that they were rope-pulled pole trebuchets (a relatively new and very efficient type of artillery invented in China and brought west possibly by the Avars, although there are other accounts the suggest that the Avars actually learnt how to build seige machines from captured Byzantine soldiers).

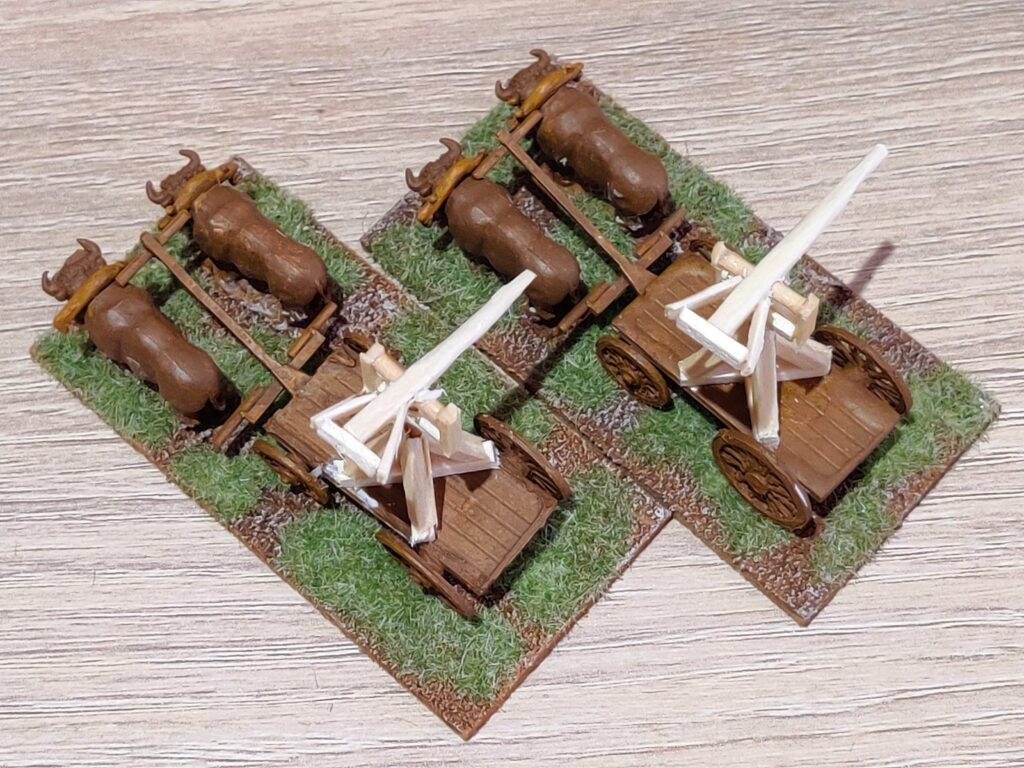
Still can’t find any models for rope-pulled pole trebuchets, only later huge mediaeval trebuchets. So I have decided to try and scratch build some myself.

Looking around I have managed to find some images of them on this website. Such as:

Rope pull pole trebuchet from the Chronicle of Petrus d’Eboli
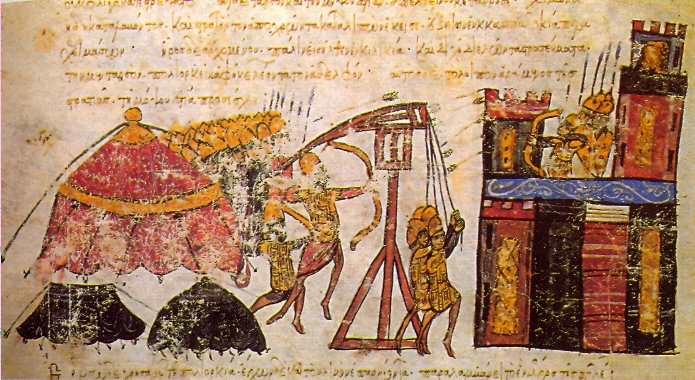
Byzantine trebuchet from the Skylintzes manuscript

Can’t remember who the wagons in the pictures come from – probably Essex I suspect. They’re not brilliant – I suspect I will do a v2 at some point, having seen what these look like.

Sui Chinese

Sui Chinese are obviously the army of choice/tournament tiger of the moment for DBMM Book 3, and, while I hate jumping on a bandwagon, I did have a bunch of random Chinese figures that I had accumulated over the years, but that had never made a coherent army. So I decided to see if I could bash together a Sui army out of them, to give me something vaguely competitive in Book 3 (to join my Early Byzantines and Nikephorian Byzantines, both of which are good armies in other people’s hands…)

The first complex thing about Sui is the variety of close order mounted – it has Kn(X), Kn(F), Cv(S) and Cv(O). And I like to be fair to my opponents and give them at least a vague chance of recognising which is which.

One of the many sets of vaguely Chinese figures are these, that I have been using as Tibetan cataphracts. I’m pretty sure they are Essex, but are not on their webstore any more. I am planning to use these as the Kn(X):

Essex? Chinese cataphracts

For the Cv(S), who are specifically called out in the list notes as being equipped in Turkish style, I had a bunch of old Essex Turkish heavy cavalry (I think they are actually in their Mongol range, but potaeto-potahto). So they will be the Sui Cv(S):

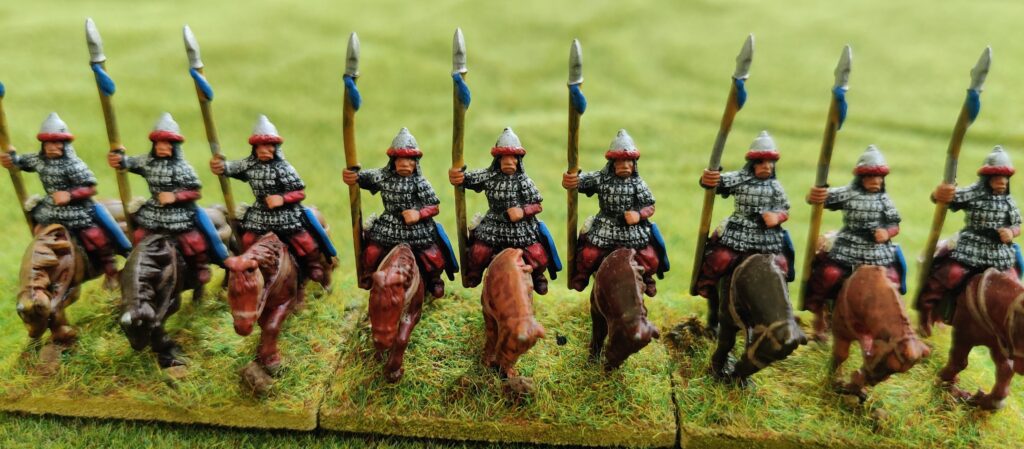
Essex Mongol heavy cavalry

Some of them were on half-barded horses, but I didn’t use these to avoid any confusion with the Kn(X).

For the Kn(F), I took some of the cataphract riders, and put them on the Mongol cavalry horses:

?Essex chinese cataphract riders on Essex unbarded mongol horses

The historicity of these guys is highly questionable, but they at least should be distinctively different to the Kn(F) or Cv(S) on the tabletop.

This meant that I then had three bases of Turkish/Mongol riders and three bases of fully barded horses. I’ll save them for a Mongol or Avar army, to mix in with the half-barded ones, and paint the barding to look like leather or horn.

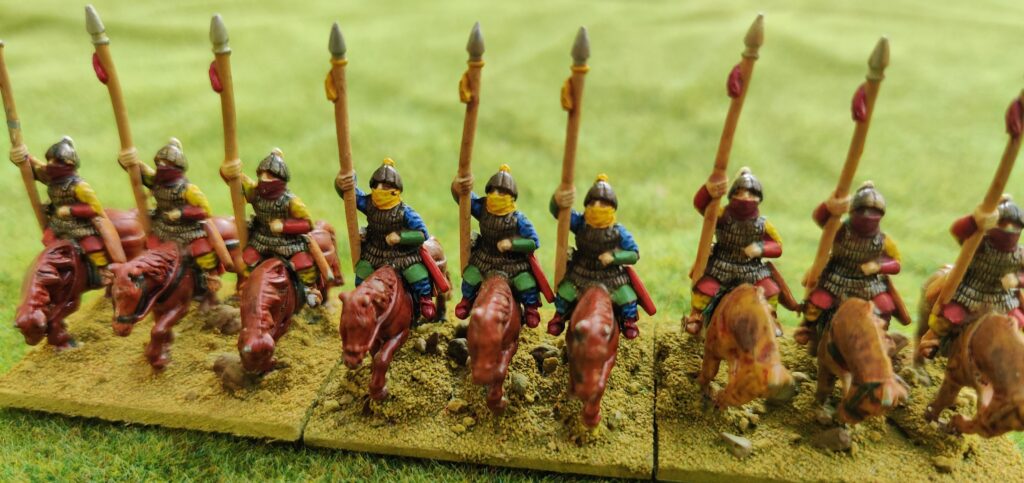
Then for the Cv(O), I painted up some of a huge pile of unarmoured Mongol Cv(O) that I had had lying around for ages. So in this case completely the wrong figures, from the wrong period, but looking vaguely Chinese, and again, easily distinguished from the Cv(S) and Kn(F):

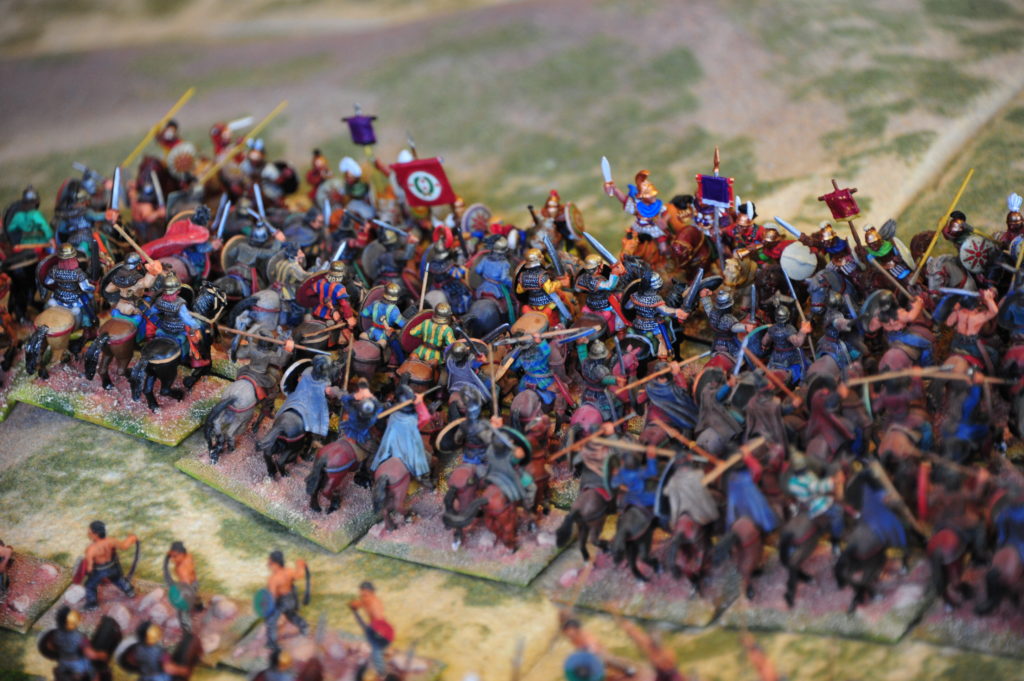
Essex Mongol cavalry masquerading as Sui Chinese cavalry…

Then there is the compulsory LH(F), which I didn’t have anything suitable for (there are limits even to my shame). So for these I actually bought some more figures – Essex Sui light cavalry:

Essex Sui light cavalry

Rather pleased with these actually – a nice variety of three poses, and well sculpted and case figures. And not all firing sideways at 90% to the horse, which is a pose that used to bedevil Essex (and other manufacturers) and makes the figures impossible to put sensibly on a base, especially for heavy cavalry.

Then on to the infantry. For the archers, I already had a load of figures – enough to do the back ranks of 5 Bw(X/O) and 10 Ps(O). Never been able to find out whose they were, but they have the right headcloth for Sui Chinese, so the plan was to use them. They are monopose, and have an Essex-y feel to them, so assumed they were Essex figures, but they are not on their website any more (but they did revamp their Sui & T’ang range a few years ago.

I didn’t have the spearmen to make up the front rank of the Bw(X), so I ordered some T’ang spearmen from Essex to go with them. Why does using up the lead pile always involve buying more lead? Anyway, they arrived, and were very well sculpted figures with a gentle variety of pose (nothing extravagant, but holding their spears with slightly different grips). The problem was that they were a head shorter than the bowmen I had, and nothing was going to get them looking OK when mounted on the same base. So back to Essex, and ordered enough archers to do the archers as well:

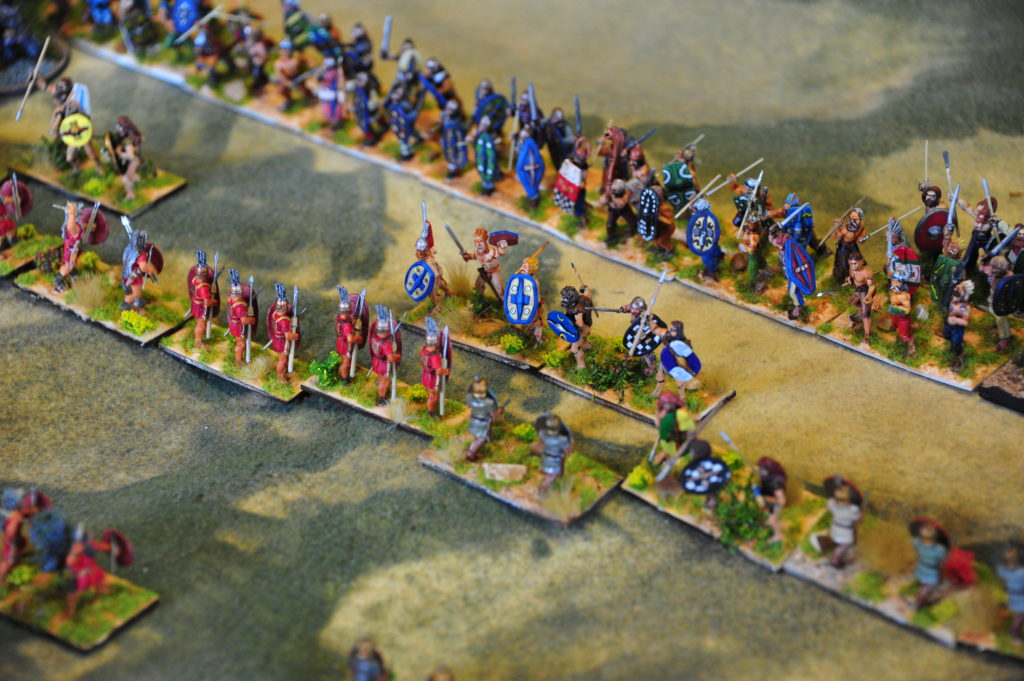
The Bw(X)/Bw(O) Pu-She archers and spearmen. All from Essex new Sui/T’ang range.
The Pu-Ping Ps(O) – again all from Essex.

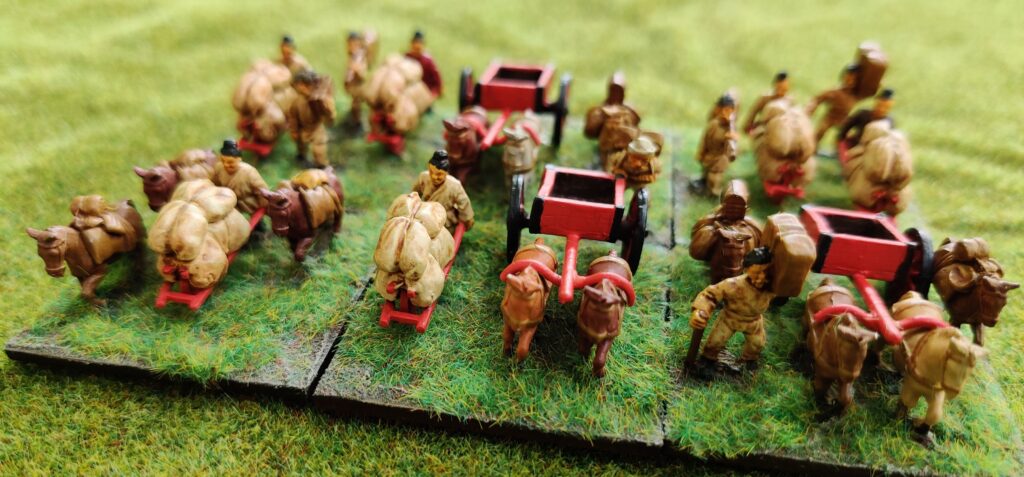
And finally the baggage, again all from Essex, and their wonderfully characterful wheelbarrowmen:

Essex baggage figures

Painted Nikephorian Byzantines

These are the painted-up Nikephorian Byzantines from West Wind (although see previous posts – some of them are actually coded as Thematic Byzantines on their webstore – check the pictures).

In general pretty good figures that paint up well with my fairly brisk technique – certainly fine for general wargaming purposes. If I had a criticism, it would be that I could do with another couple of poses for the cavalry – they get a bit samey after a while.

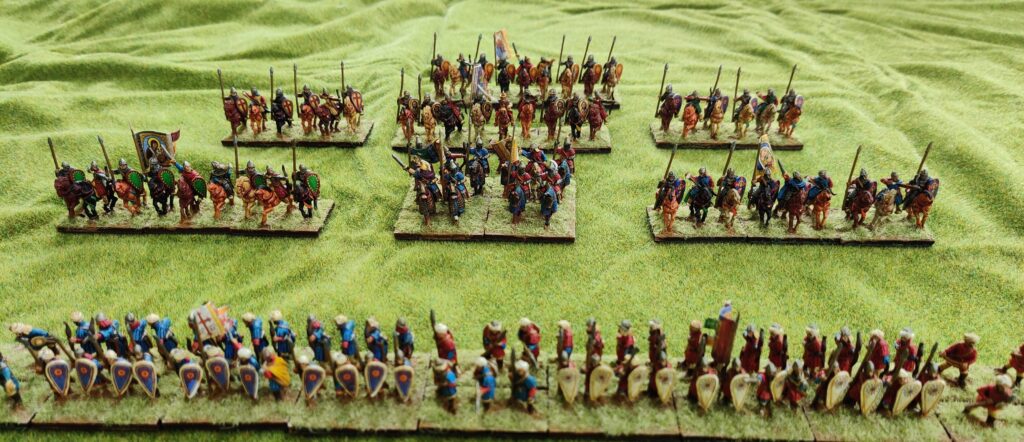
So, the bulk of the regular part of the army:

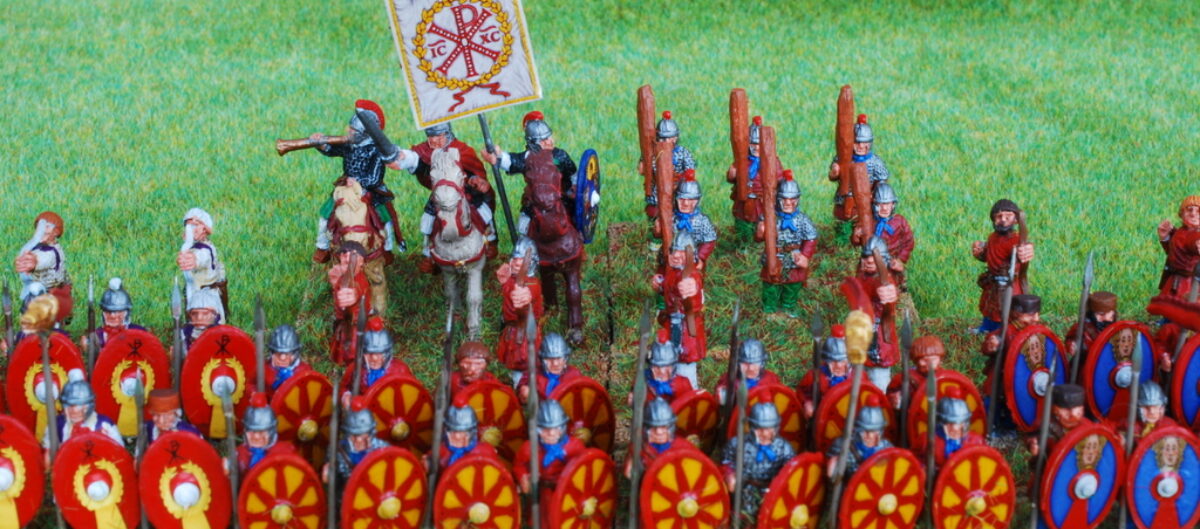
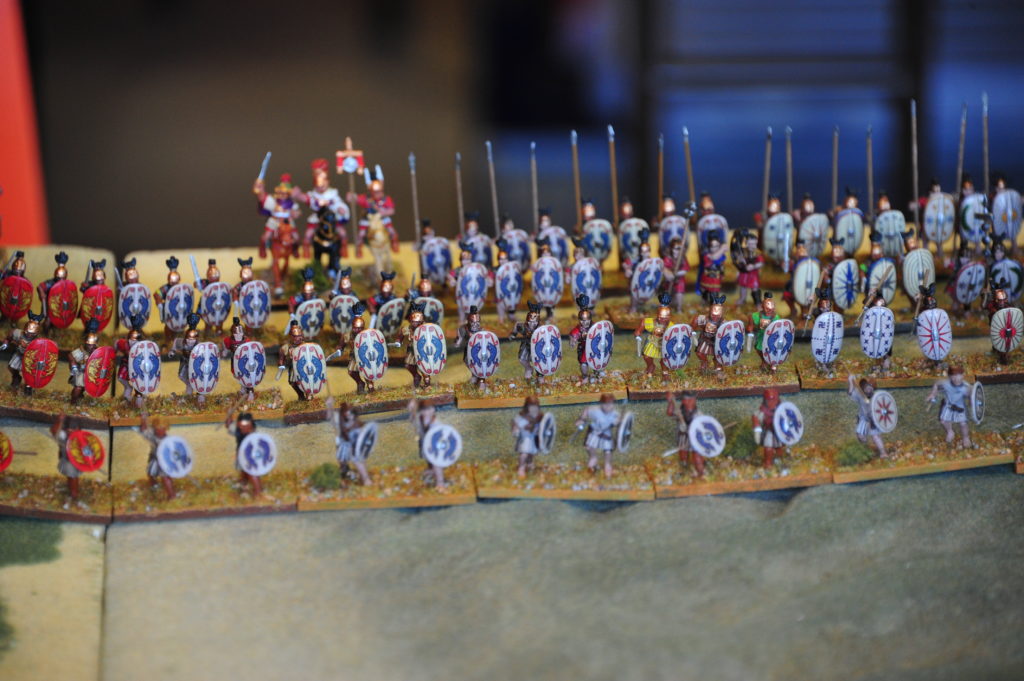
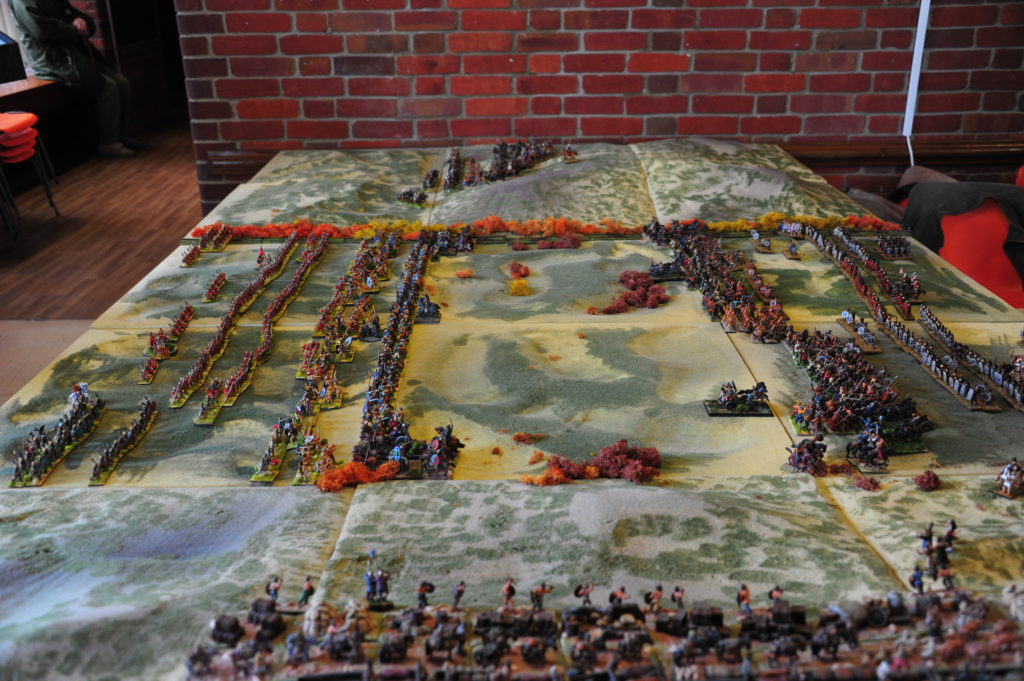
Nikephorian Byzantine (DBMM) army, figures by West Wind.

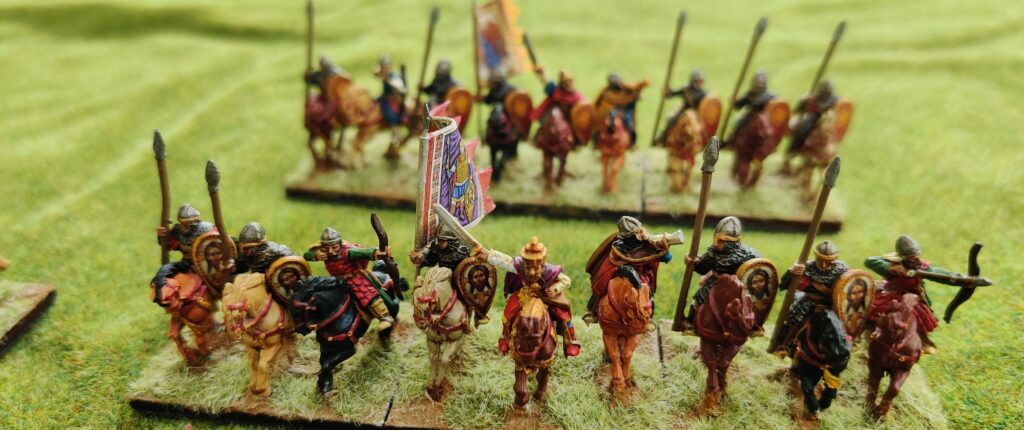
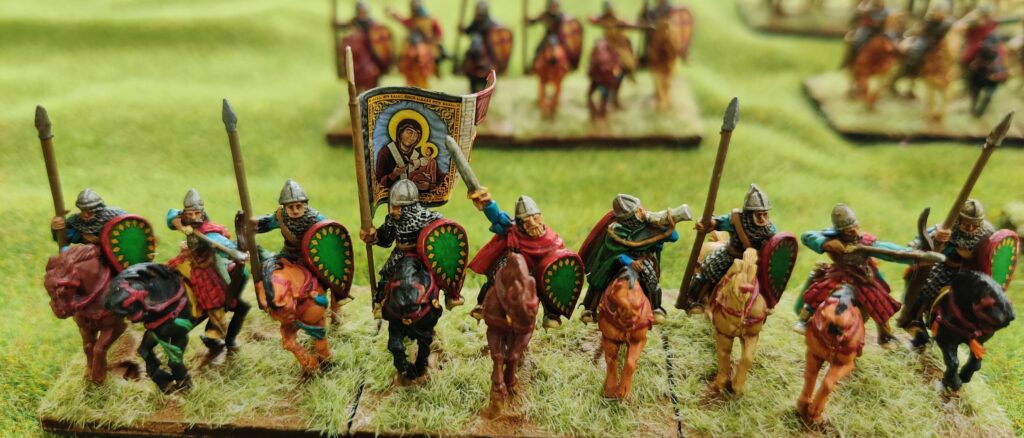
The Emperor Ioannes Tzimikes, with his Athanatoi guards:

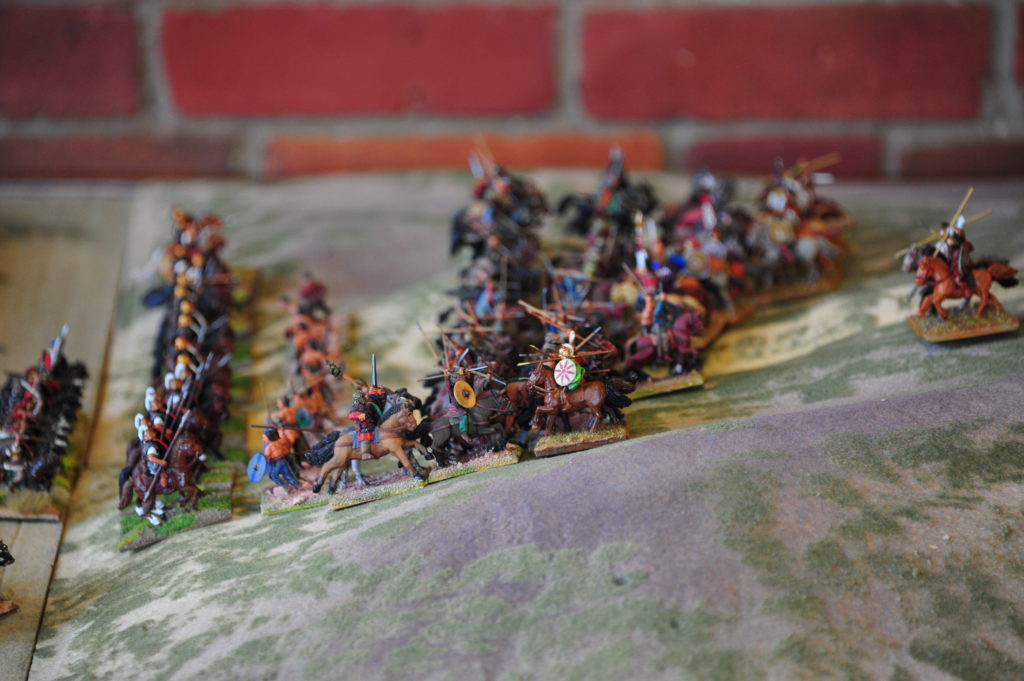
Tagmatic Kavallarioi (DBMM Reg Cv(S)) with general. Figures by West Wind, banners and shields by Little Big Men.

The Megas Domestikos Michael, commanding the right wing:

Tagmatic Kavallarioi (DBMM Reg Cv(S)) with general. Figures by West Wind, banners and shields by Little Big Men.

Under the protection of the Theotokos, the Logothete Basileos urges the left flank forwards:

Tagmatic Kavallarioi (DBMM Reg Cv(S)) with general. Figures by West Wind, banners and shields by Little Big Men.

Meanwhile, brave Kaloioannes commands the rearguard, ready for any eventuality:

Tagmatic Kavallarioi (DBMM Reg Cv(S)) with general. Figures by West Wind, banners and shields by Little Big Men.

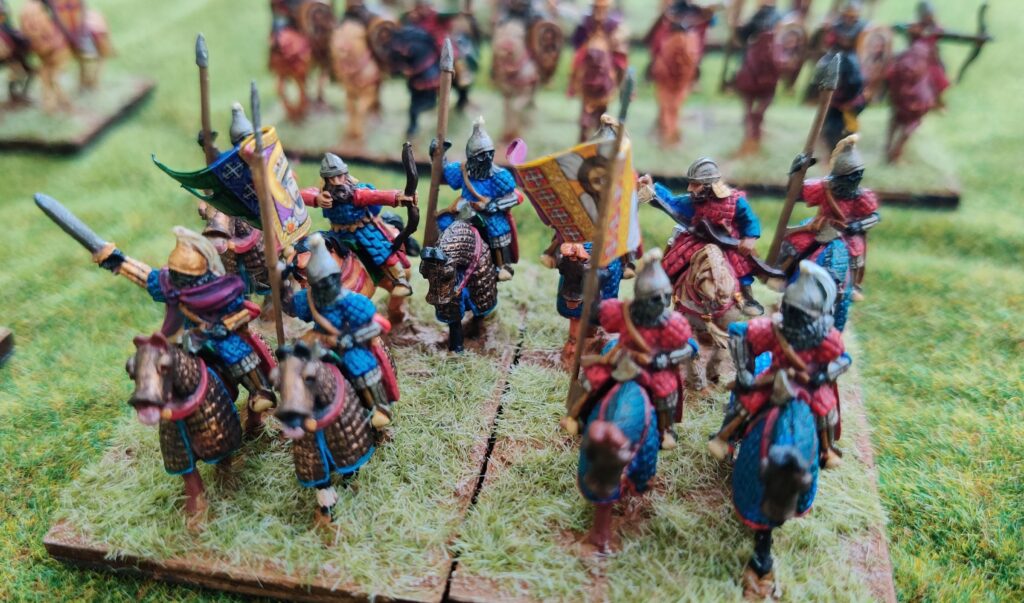
The elite of the army are the heavily armoured klibanophoroi:

Tagmatic Klibanophoroi (DBMM Reg Kn(X)/Reg Kn(I) double base). Figures by West Wind, banners and shields by Little Big Men.

But the backbone of the army are the sturdy thematic peasantry, forming a wall of spears and arrows:

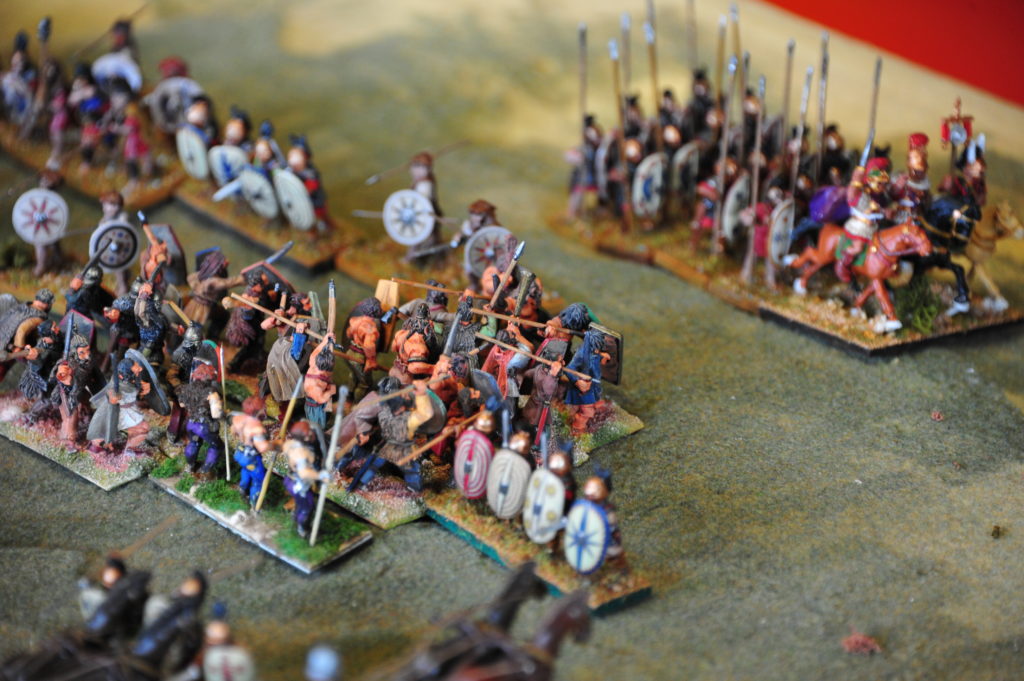
Thematic Skoutatoi, Akontistoi, Psiloi and Menlavatoi (DBMM Reg Bw(X), Bw(O), Ps(S), Ps(O) and Bd(X)). Figures by West Wind, banners and shields by Little Big Men.

One thing I did discover during the painting of this army was that the Little Big Men shield transfers for Khurasan miniatures skoutatoi fitted the West Wind cavalry kite shields perfectly. The West Wind cavalry shields are shorter and fatter than the infantry shields, so the LBM transfers fit the infantry shields well, but need to be trimmed to fit the cavalry shields.

West Wind Nikephorian Byzantines

My West Wind / War and Empire Nikephorians finally arrived a few weeks ago, delayed by the pandemic disruptions and at the end of the queue because i had taken so long to get my Kickstarter order in. Wendy was great on keeping me appraised of progress though, and also answering random queries.

Which does raise the first issue, which is that some of the figures have been slightly miscoded on the site – the Nikephorian lancers are in the Thematic section and coded as Thematic Lancers, and vice versa. The key difference is that the ones with the Thematic code have the teardrop shields which only really came in at the very end of the Thematic period, and the ones with the Nikephorian codes have the round shields, which are fine if a bit old fashioned for the Nikephorian period – although useful if you want to distinguish between Tagmatic and Thematic regiments.

Overall the range is comprehensive as well – there are specific figures for the menavliatoi for example (3 poses, plus command) which a lot of ranges skip. It would be nice to have some light archers (i.e. not in epilorikon), some of the heavier artillery (although maybe I haven’t looked and there might be a specific section for that) and some fire-siphoneers (although that is pretty niche and probably not commercially viable). But everything else is there.

First impressions (so far I have only painted up some of the infantry):

A good amount of variety in poses. Sculpting reminds me somewhat of Old Glory – not quite as crisp as Xyston or Legio Heroica, but easy to paint and certain good at wargaming vision distance. There are a couple of the armoured bowmen where the straps disappear on the front side of the body though, which is a bit of an oversight. This bodes well for the Germanics I also bought, who I want to mix in with a mixture of Old Glory and Baueda – I think they will fit right in to give my warbands even more variety.

Historically they are pretty accurate – all in epilorikon and with a good variety of helmets and turbans as headgear. Most of the archers have the specified two quivers, and they all have a small shield and axe or sword. Spears are maybe a little short, but given they are cast in, I wouldn’t want them any longer. The standards feel wrong to me though – they are cast as vexillia type, whereas I think by this stage most Byzantine banners were flag type, so am cutting off the vexillias and adding my own steel spear and flag banner with LBM Byzantine standards.

A unit of Byzantine skoutatoi based for DBMM.

Aide-memoire – Persian uniforms

From Duncan on the DBMM List:

I think the intention is that the Guard are all Persians – the original hypaspists having been sent back towards Macedonia. Luke at http://www.ne.jp/asahi/luke/ueda-sarson/AlexImpDBM.html http://www.ne.jp/asahi/luke/ueda-sarson/AlexImpDBM.html said:

“Melophoroi and archer guards: Persian guard spearmen and archers were used, and it is possible that these were used in a mixed formation as in the earlier Achaemenid empire, like the old Immortals, hence the provision for Bw (X). The archers at least seem to have been divided into 3 companies (Polyainos gives three differing uniform colours).”

Polyainos has “Stationed round the pavilion within were, first, five hundred Persians, dressed in purple and white vests: and next to those an equal number of archers in different dresses yellow, blue, and scarlet” –https://sites.google.com/site/alexandersources/polyaenus/polyaenus—alexanderhttps://sites.google.com/site/alexandersources/polyaenus/polyaenus—alexander

Ailian’s version is “first of all 500 Persians called apple-bearers (melophoroi) dressed in purple and quince-yellow; then came 1,000 archers dressed in flame-colour and scarlet”.

So your front rank is Persian “apple-bearers” probably with bronze hoplite shields, hoplite spears with the “apple” on the butt, purple tunics perhaps with the central white stripe of the royal tunic, and yellow caps – Sekunda in the Persian Osprey reconstructs one, under Darius, with yellow belt and red-and-yellow lozenge-patterned trousers. The rear ranks are archers in uniform yellow, bright red, and probably blue tunics. As Peter said, this matches the uniforms that Sekunda reconstructed from the Sarcophagus.


Not, obviously that I would ever do anything as bad as fielding the experimental phalanx, but useful guide for painting LAPs as well.

Guildford batrep

A cracking time at the Guildford on-day competition last Saturday, especially since I came away with two trophies.

The competition was a Book 1 theme and the army I took was Libyan Egyptian, chosen because I hoped that in a one-day format it would have the necessary win big/lose big to get the number of points that normally seems to be required to do well at a one-day competition.  My normal Book 1 army is New Kingdom Egyptian, but I think that it is too susceptible to long fought out draws and lacks a punch, which can work over 4 rounds, but I think leaves you in the middle of the pack in a two round comp.

The army was:

Command 1: Reg Cv(S) C-in-C, 6 Reg Bd(O), 9 Irr Wb(S), 4 Reg Ax(O), 4 Reg Bw(I), 18 Irr Ps(I), 4 Irr Ps(O).

Command 2: Reg Cv(S) Sub, 8 Reg Cv(S), 2 Reg LH(F).

Command 3: Reg Cv(S) Ally, 18 Irr Wb(S).

Baggage Command with 6 Irr Bge(I).

The first game was against Ch’u Chinese (Western Chou and Spring and Autumn Chinese).  My opponent was Oren Taylor, who I hadn’t played before.  We found ourselves invading China in summer.  The only relevant terrain was a waterway on my right flank, then a 5 base width gap, then a patch of rough going, then a 6 base width gap then a rocky hill.

The Chinese formed up first. On their right on the reverse slope of the rocky hill was a large block of Reg Pk(F), with a chariot general behind and an Expendable on the far flank.  In the centre, also behind the rocky hill was some more Irr Pk(F), then a line of Ps(O) in the open, with two Reg Kn(O) chariots behind them, then another block of Irr Pk(F) facing off against the scrubby flat, then some Irr Kn(O) chariots, then the waterway, which had 4 Bts(I) on it.

I deployed with the main mass of the Wb(S) facing the hill, flanked by the Wb(S) from Command 1, then a line of Bw(I) backed by Ax(O) in the open, facing the Ps(O), then the Bd(O) in the rough facing the Pk(F), backed by the huge block of Ps(I) and (O).  The chariot command was deployed as a second line.

Oren took the first bound, and his ally general, in the centre, was unreliable.  This constrained his C-in-C, on my left, who had to use 3 of his five PIPs to try and activate him.  He used the rest to advance the Pk(F) in his command over the brow of the rocky hill, and to move the elephant Expendable up on the flank.  On his left, he expanded the Kn(O) from column into line and advanced the Pk towards the scrubby flat.

My ally wasn’t unreliable, so I advanced all the Wb(S), from his command and the C-in-C’s, up onto the rocky hill. At the outside end we were matched up, by on the inside I had an overlap because he hadn’t been able to move up the Pk(F) belonging to the unreliable ally.  On my right I advanced the Bd and Ps into the scrub, and the line of Bw(I) in the centre.  In the reserve line, the LH went left to deal with the Expendable, while the Cv(S) went right to face off against the Kn(O), which was a daunting prospect for them.

On his turn he was unable to activate his ally, so just continued to develop his attack on his left and moved the expendable forward, spending 3 PIPs again to try and activate his ally.

On my turn, I continued the general advance, halting in the centre to avoid activating the ally.  My Ps(I) started skirmishing with a screen of Ps(O) that we in front of his Kn(O).

On Oren’s turn he again failed to activate his ally, but did reveal an ambush of Kn(S) behind the rocky hill.  The Ps skirmish continued on the right flank. The expendable attacked my LH(F) impetuously and imploded.

On my turn I decided to attack before the ally got involved, even though it meant activating him.  The warband ploughed into the pike on the hill over a frontage of 8 elements, and, starting at the end with the overlap, won the first 6 combats (or drew, and converted them to wins with the S bonus).  The last two lost and recoiled, but that was still 12 Pk(F) dead and 12 ME off that command.  The blades charged into the pike in the scrub, but couldn’t achieve the same effect, killing no-one.  The centre advanced and shot at the Ps(O), breaking them up.

In Oren’s turn, he drove the Wb(S) that had already recoiled further down the hill and fought the others, bring up the rest of the ally Pk(F). His chariots in the centre came forward to fight the bowmen, and also advanced by the waterway.  The Kn(S) worked their way around the hill.

In my turn, the warband continued to mop up Pk(F) on the rocky hill, including some of the ally ones.  The blade also started killing some pike in the scrub, and we traded Ps on the far right.

In Oren’s turn his chariots came in in the centre and killed one of the bow, but another one fled from them.  The chariots on his left also advanced, but their formation was at right of getting disrupted by their own Ps in front of them.  The pike on the rocky hill killed four Wb(S).

On my turn I was able to turn some Wb into the rear of the winning pike blocks and send up the LH to provide overlaps as well.  On my right, the Ps protecting the flank of the line of chariots had been killed, so I was able to throw a Ps(I) into the flank of the Kn(O), with another as an overlap.  The Wb killed the remaining Pike on the hill which broke that command.  The Kn(O) who had killed the Bw also died because his wingman had fled so he had been hard flanked.  On the right another Pk died, and the Kn(O) who was flanked by the Ps and couldn’t recoil also died on a 6-2 (becoming 8-4).  This, plus the broken C-in-C’s command came to more than half the army, and it broke.  My loses were 4 Wb(S), 1 Bw(I) and 1 Ps(I), making it a 25-0.

Oren was very unlucky that his ally was unreliable and that prevented his C-in-C from using his PIPs to get the Kn(S) out from behind the hill.  As it was the best troops in his army fled without ever having fought.  I was lucky that the uphill attack on the Pk(F) was so successful, but a lot of that was down to the S bonus breaking the draw.

My second game was against  Steve Bainbridge with Neo-Assyrian Empire.  This time I defended and we ended up with a very cluttered battlefield, with the waterway down my right flank, with a rocky flat next to it, and then an enclosed field about 8 base widths away and running all the way back to my base edge at an angle.  I had to either split my army or deploy it all on one or other side of the field system.  I opted to deploy it all between the fields and the Nile, with the Wb(S) in column on the rocky area, as close to the edge as they were allowed, then the mixed foot of the C-in-C, then the Cv(S) chariots crammed in next to the field system desperately trying to fit in.

Steve couldn’t or didn’t deploy his army only facing me.  On my right was a line of supported Ax(S) with some LH(F) on the flank, then three Kn(O) chariots, then his Libyan Egyptian ally (turncoats, collaborators) with Wb(S) and some Bw(I), then more Kn(O), then another Ax(S), then more Kn(O) then some Ax(O) and Ps(O).  But this point though, that flank of his army was facing empty space and the field system.

My initial PIPs were good so I expanded out my Meshwesh as quickly as I could to try and fill the gap to the Nile before Steve sent his LH(F) around it.  In the centre we advanced, although I tried to bring my Bw(I) and Bd(O) across from the right to the left to face the Kn(O).  On the left, I was tempted by the extra PIPs to throw my Cv(S) out as wide was possible to try and roll up his Ps(O) and Ax(O), who looked weak.  However I managed to restrain myself, and reminded myself that most bounds they wouldn’t get 4 PIPs, but only 1 or 2, so it wasn’t a good idea to start on a complex plan.  Instead they braced themselves for the onslaught from the Kn(O) and deployed to stop themselves being outflanked.

Both sides then advanced for a general ding-dong.  We hit first in the centre, and basically it didn’t go very well, as the Kn(O) ground their way through the Wb(S). My Cv(S) kept fleeing from Steve’s Wb(S) as well, and I was getting pretty desperate holding them up flinging Cv(S) and Bd(O) back in, although I did kill a couple of Wb(S) with Bd(O).  The Bd(O) were also having a rough time from the Kn(O), as were the Bw(I), although they held on longer than I expected.  The Ax(S) in the rocky area also held on well, until suddenly they started crumbling, and of course didn’t have any reserve ranks to plug holes, so started being hard-flanked and losing even more.

By this time my centre was disheartened though, then broke, and it looked like it was all over, as the Cv(S) on the flank were completely broken up and had Kn(O) bearing down on them.  However, I decided to keep going and see how many victory points I could salvage from this, to try and deny Steve a complete victory.

In order to stop the Wb(S) on the right flank, Steve had to throw across all the ancillary troops from the ally command, including its general, in order to form a new line at right angles behind his main line.  These were troops like Ax(O) and Bw(I) though, that weren’t happy fighting Wb(S) and they rapidly went down, disheartening the ally command.  The right hand command that the Ax(S) had been in was also disheartened, so I was looking at at least 4 victory points back here.  On my left, Steve’s Kn(O) were caught in a colossal traffic jam, and the few Cv(S) that were holding the line were fighting heroically, including one that was flanked and contacted in the rear and still threw his opponents off, then survived another rear attack from an Ax(S).  Steve was getting increasingly frustrated by this, especially when in desperation I threw a Cv(S) into a Kn(O) there and the Cv(S) ally general into a LH(F) on the far right flank, which was a very desperate move by me as it exposed his flank to another LH(F) if I didn’t kill it straight off.  The Cv(S) killed the Kn(O) with his S bonus, and in my jubilation, I didn’t realise that we hadn’t fought with the Cv(S) general on the other flank.  Just as Steve was about to roll his PIPs I realised, and stopped him long enough to resolve it. The result (4 vs 2, S vs F) was fortunately predictable, and the LH died.  Steve checked and this was enough to break his right command. The 2 ME from that was enough to break the Libyan Egyptian ally, and those two commands, plus the casualties from the intact commands, was enough to take him 1 ME over his army break point.  From a point about an hour earlier where my army was in deep trouble, I had managed to dig in and turn it around, although I had lost well over 40% of my army myself (42 ME out of 90).  So Steve was able to grab 8 victory points from me, but that was unfortunately scant consolation for a game which had looked like a 23-2 is his favour an hour earlier.

To my surprise, 42 points were enough to get me first place, and a solid win in the afternoon from Adrian Coomb-Hoare and two good performances from Dave Mather were enough to get the strangely named West Pinnergate not by the Sea team the team prize as well.

Unfortunately in all the excitement I forgot to take any photographs of the battles.

Unhappy Seljuks

Miserable game with the Seljuks last night against Mediaeval Germans (actually a fairly historical match up, if I had been Rum Seljuks rather than Merv, and the Germans had been third crusade rather than a century later).
Not really used to the army, got the PIP allocation wrong, allowed myself to be over-stretched, wasted time reforming my Cv(S) and Cv(O) from the optimum formation to a completely rubbish formation – really it was a disaster from start to finish.

The Seljuk list, for what it is worth should have been:

C-in-C as Reg Cv(S), 7 Reg Cv(S), 6 Reg Cv(O).

Sub General as Reg Cv(S), 12 Irr LH(S).

Sub General as Reg Cv(S), 1 Reg Cv(S), 6 mounted Reg Ax(S).

Ally General as Irr LH(S), 12 Irr LH(S).

Feigned Flight and Scouting.

Instead I swapped the C-in-C into the LH command so that he could move them with his free PIP (which he rarely did since he was too slow) and gave the low PIP to the cavalry command which meant they couldn’t reform. Even with the middle dice, the Ax command didn’t sweep through the difficult hill but got bogged down killing 3 Ps(O).

Oh, and the ally was unreliable, which didn’t help. And meant that when I wanted to Feign Flight with the Cv command, I couldn’t as they were too close to the rear of the table, because my advance had been held up trying to persuade the ally general to come out and play.

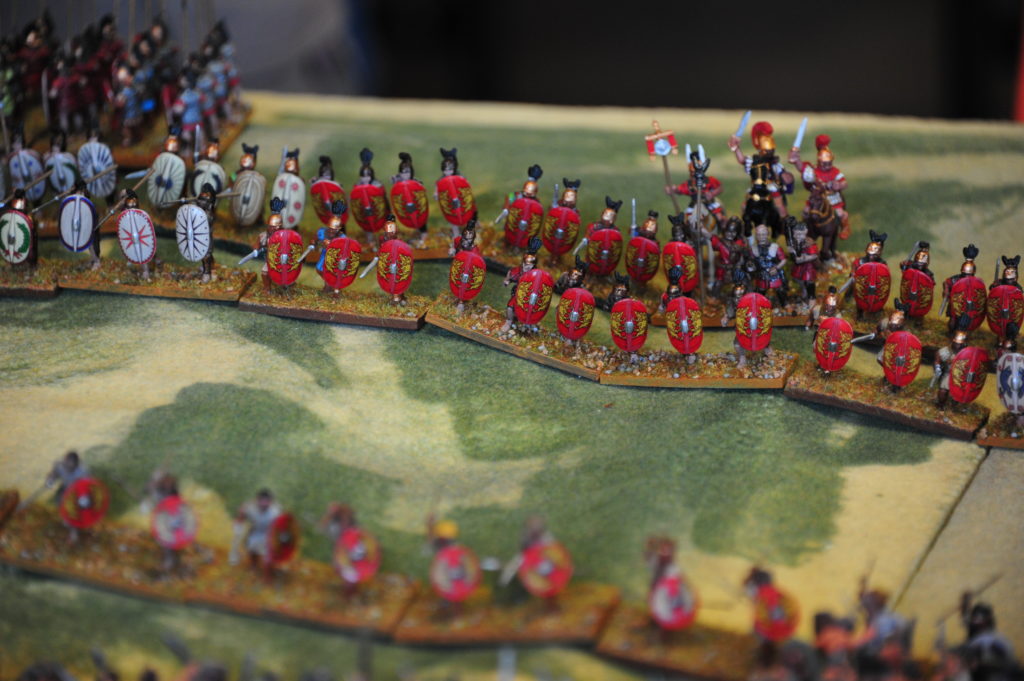
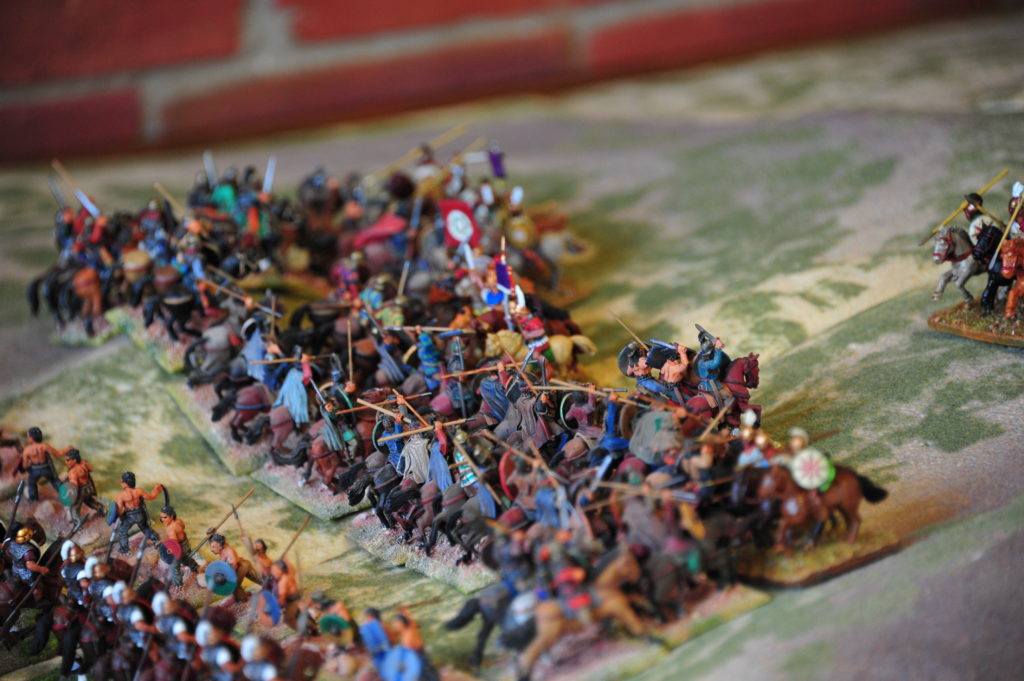
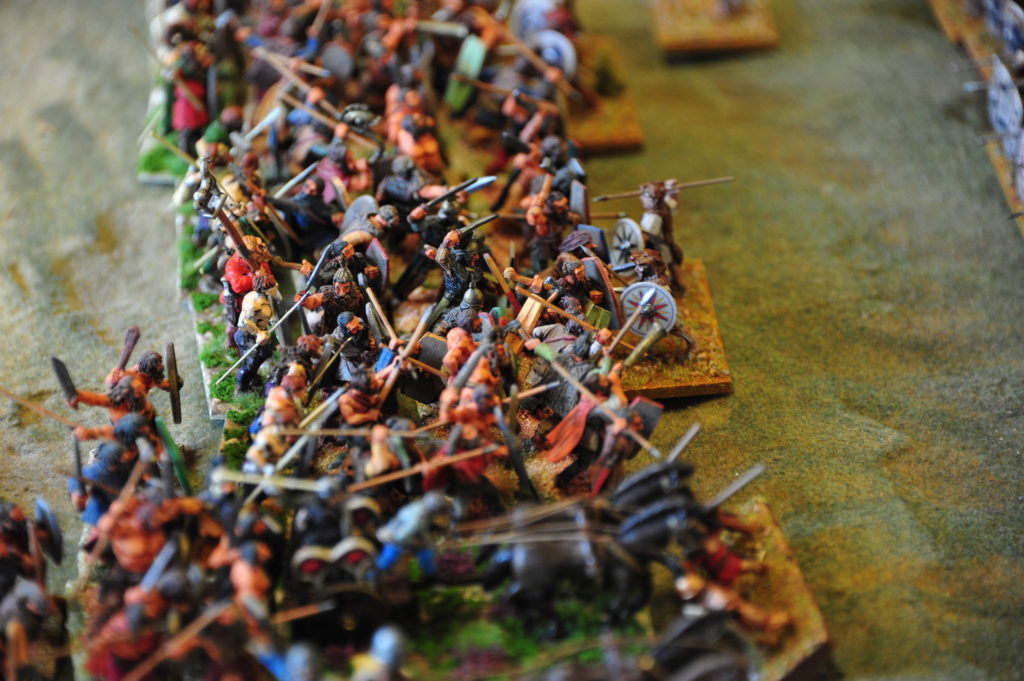
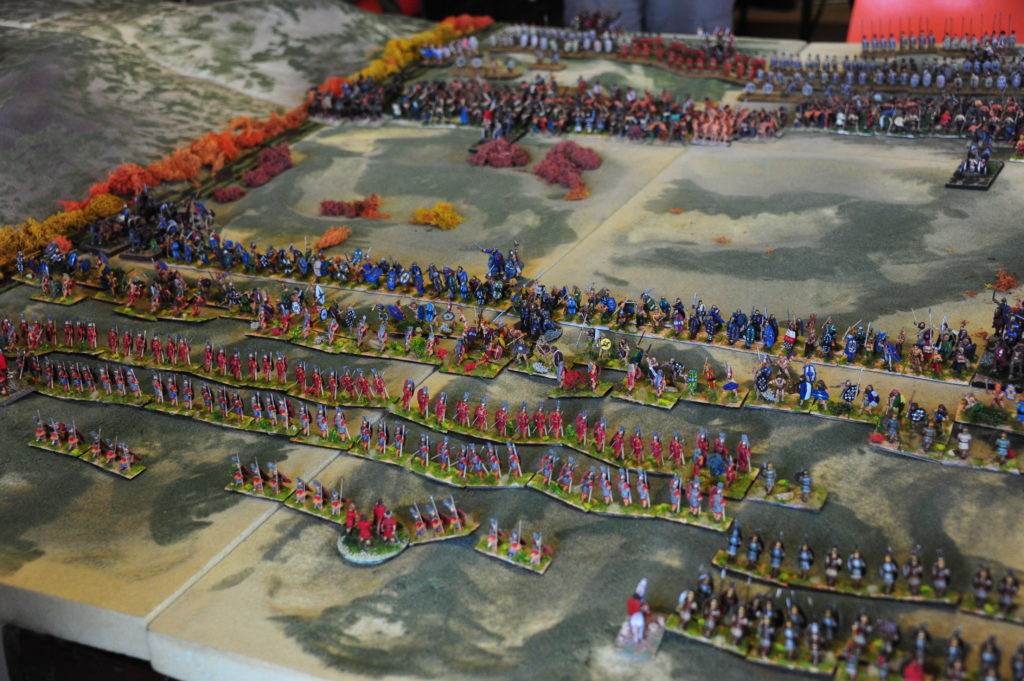
Late Romans in battle

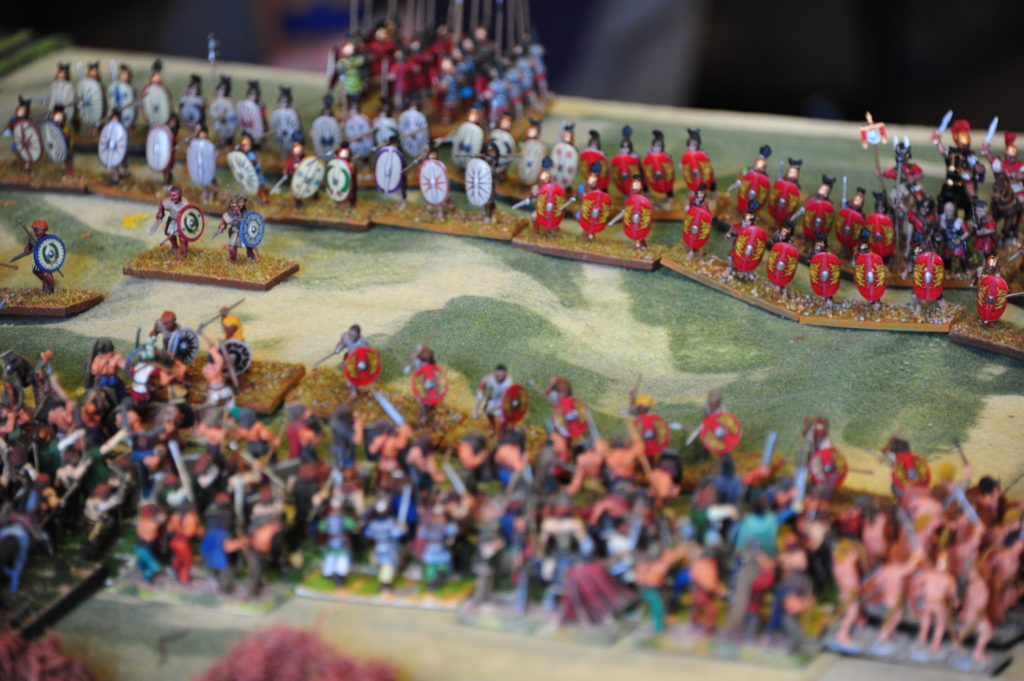
Got another battle in this week with the Late Imperial Romans and I think I am finally happy with iteration 6 of the roster. Three very different commands, and even with some poor PIP dice I never felt that I had PIPs in the wrong place.