Hopefully this will be part 1, at least, because I will get a chance to finish this.
The wargame I play most, which is DBMM, tends to be very precise in where units are positioned, which means that realistic terrain is a bit of a problem. For these games, the mouse-mat style 6×4 terrain mats are brilliant, and the range of them that are now available is amazing – I have a bunch from DeepCut Studios that I really love. However, I have also always really wanted some ‘proper’ wargaming terrain – tables with realistic hills and flocking and rivers etc etc. I have had a couple of aborted attempts at them in the past, and done some realistic extruded-polystyrene hills for particular exhibition battles (particularly for SoA Battle Days), but they have always been a pain to store, and haven’t been very reusable.
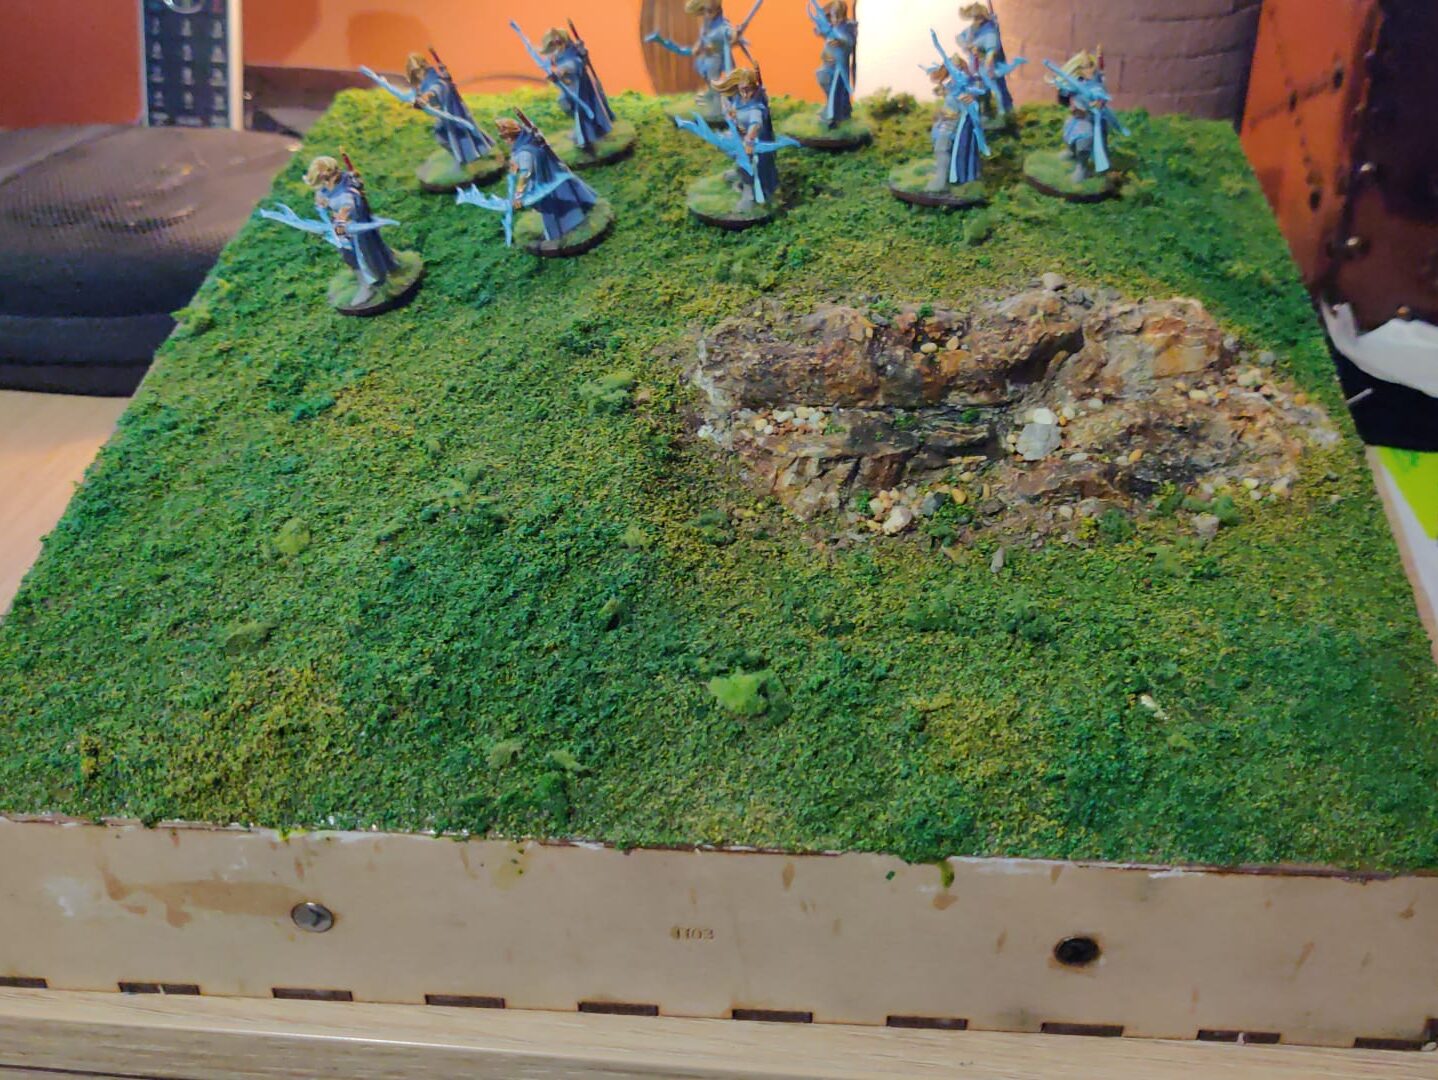
For a while though, I have been looking at the Terraformers modular terrain system on Sally4th, and been wondering whether I could use that to create some proper boards for 25mm skirmish games that would be practical and attractive. So I took the plunge and bought their nine-tile starter set. I’ve now got the first tile done, and I’m actually more pleased than I thought I would be with the results:

A more-creative friend, when I mentioned the project, suggested this YouTube channel from Geek Gaming Scenics (hereafter GGS) as a useful source of inspiration, and so far it had been a revelation.
Critical first tip was using Sculptamold (I just got the standard stuff from Amazon, because the GGS version was out of stock). Its a mix of plaster and shredded paper, which makes it a lot lighter-weight and more flexible than just pure plaster, which I had tried to use before to give a nice finish to the extruded polystyrene. The plaster was also very prone to chipping and cracking – Sculptamold seems to be a lot more flexible.
The flocking is the foam flock from GGS – its a nice mix of different sizes and takes the PVA glue well. It’s scattered onto a coating of PVA and then saturated with watered down PVA glue which makes it really hard – I am hoping it will stand up to a decent amount of wear and tear, and should be easy to patch and repair if it needs it. I chose flock over static grass because I didn’t want to have the figure bases ‘floating’ above long static grass, and I still haven’t really cracked the skill of properly applying static grass.
The rocky crag is done using a rock mould from Woodland Scenics. The paint job on it is the real revelation though – another tip from a GGS YouTube video. I use splotches of watered down Raw Sienna and Burnt Umber, followed by a light wash of even more watered down Raw Umber to blend them a little. Then when they I dried, I give it a wash with very watered down black. I’m just using random cheap Daler Rowney acrylics because I have them to hand. It looks miles more realistic than the approach I would have used, which would have been dark grey dry-brushed with increasing highlights of lighter greys.
The whole crag is then blended in with a scattering of the GGS Arid Earth Base-Ready Mix.
Overall, very pleased with the results so far, and hop to get time to continue with the other tiles.
